Icing
Here's how to ice and marzipan a fruit cake.

Turn the cake so it is resting on its top. The base of the cake makes a great flat surface for icing on.

Roll out two thirds of the marzipan into a long strip that is about half a cm thick. Use icing sugar to stop it from sticking to the rolling pin.

Cover the cake with apricot glaze/jam which serves to glue the marzipan to the cake. By the way I just use shop bought marzipan though you could make your own if you wanted to.

Roll the cake along the marzipan and seal it at the join.

Trim off the excess to allow for the top to be rolled out and put on.

This is the completed marzipanned cake.
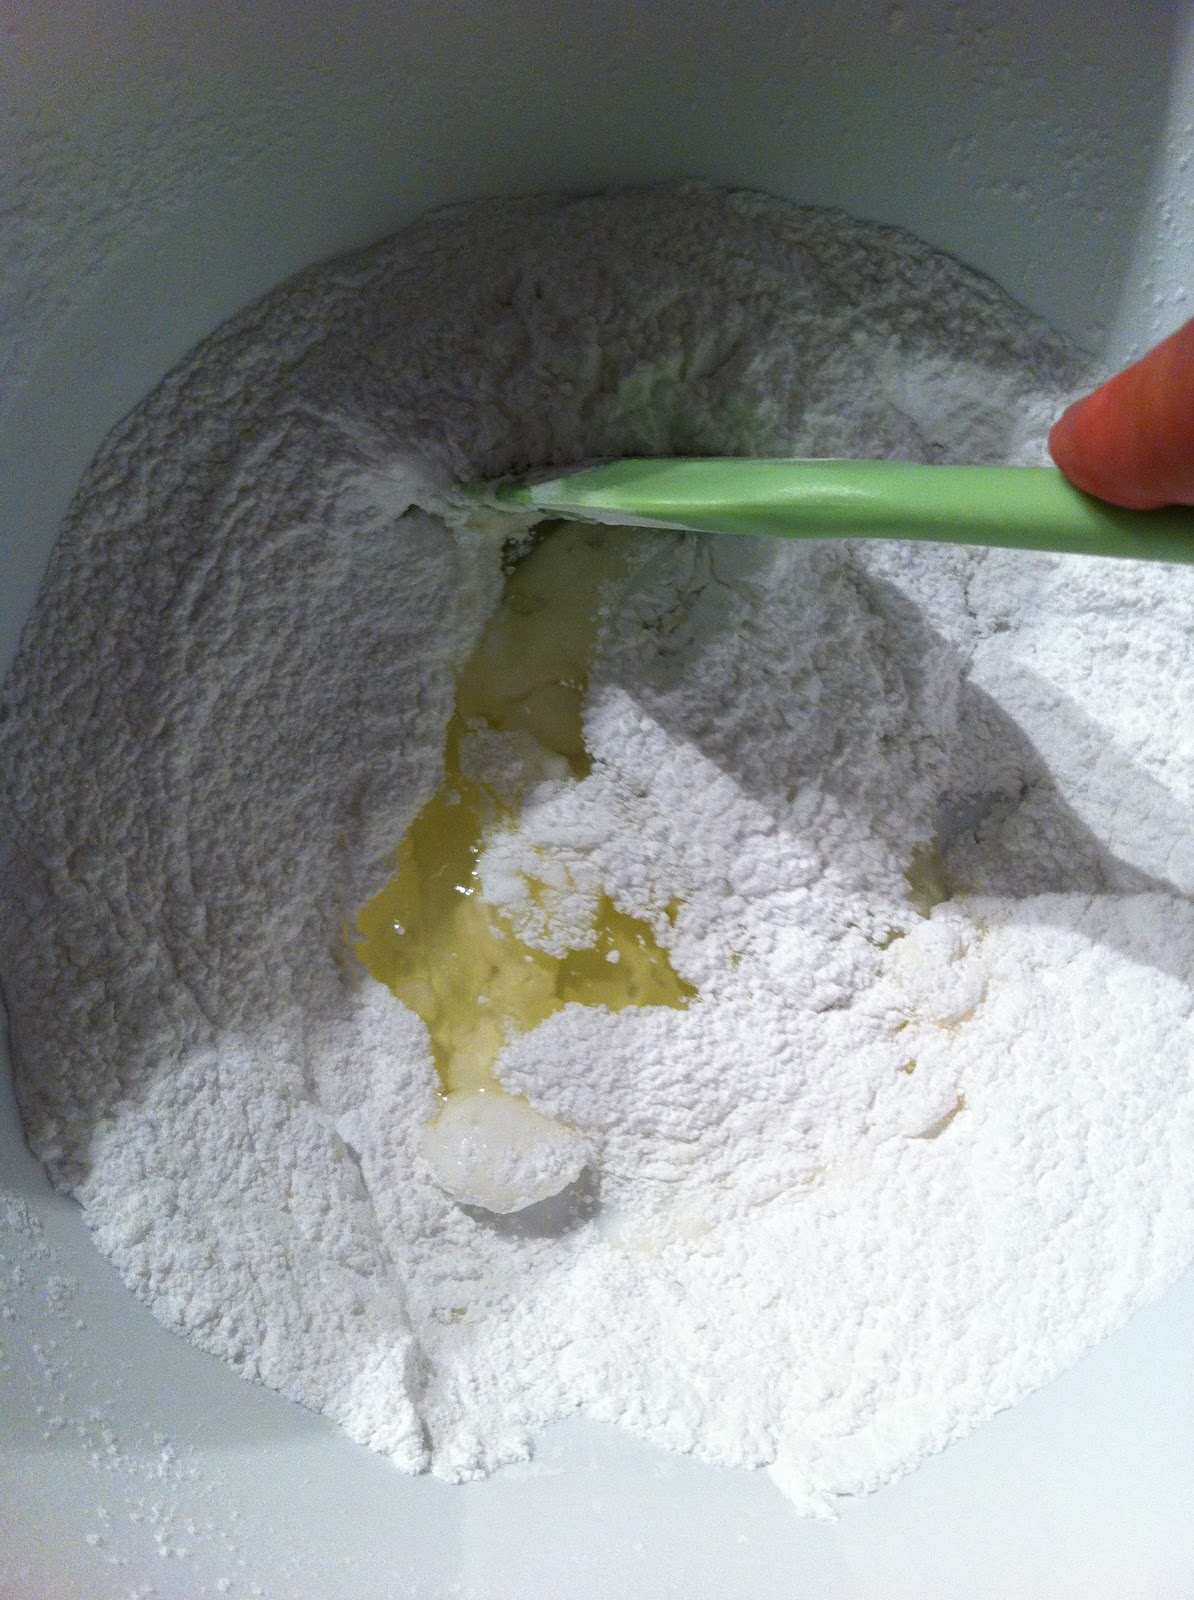
I make my royal icing by mixing 2 egg whites and then sifting in icing sugar until the icing is the required consistency. It needs to be thick, but not too thick that you can't spread it. At that point add about a tablespoon of glucose syrup, this magic ingredient stops the icing becoming like rock and braking your teeth when you eat it.

Egg whites.

Sifted icing sugar.
Mix mix mix

Add the glucose syrup.

Spread it over the cake and with the back of a spoon make it spiky. Adorn with your favourite christmas cake ornament and enjoy your belated christmas cake!
Frosting
Having made some very tasty cupcakes and muffins in the past the perfectly iced/frosted cupcake has alluded me. I have explored piping and spreading frosting on and my attempts have failed to impress.

These red velvet cupcakes did taste very good, but they looked like a child had decorated them. So with that in mind my friend and I enrolled on a 2 hour piping course held by the Cookie Girl. We managed to get a very cheap deal for the course and were excited when the day eventually came around.

On offer were a variety of frosting colours, piping nozzles and also decorating bits and bobs. First we were shown how to fit the nozzle and fill the bag, a disposable plastic piping bag, not the most eco-friendly way to do this I know, but a much easier way.

We were shown a variety of piping techniques, the rose, iced gem, shell amongst others.

The iced gem style. Do blobs with a classic 'mr whippy' piping nozzle and space them apart from each other then fill in the gaps on your second go around.

The classic swirl. Start on the outside of the cake, overlapping the casing a little and swirl around to the middle.

The shell, do two half moon swirls, that look like a letter C and then finish with an iced gem in the space left over. I added the silver balls to cover up a mistake I had made but the effect was really good in the end.

This is one of my friends cakes, demonstrating a good two tone swirl.

This is the rose, you start in the middle and swirl the frosting to the outer edge, trying to keep the level of it the same as you go.

We had a great time (though I wasn't too keen on the apron) and got to take home 8 cakes in total. 4 practice ones and 4 decent ones. Thanks to Siobhan for organising!

Next time, sourdough bread.
So delicious looking!
ReplyDelete